There are often times when you need to place a light or other piece of equipment in a location that just does not facilitate a light stand or tradition mounting apparatus. Enter the invention of the ever-so-versatile super clamp. This device allows you to mount anything from lights to cameras in a variety of locations, including poles, doors, and tabletops.
But, what if you need to clamp a light onto a larger object? What if don’t have the cash to (small amount, though it may be) for an official super clamp? What if you need one today and don’t have time to wait for it to ship? Break out your inner do-it-yourself-er and make one of your own! A while back I read a this DIY post by Chris Inch which inspired this experiment.(Scroll to the bottom of the page to see it in action.)
Materials
- Ratcheting hand clamp – I purchased mine from Lowes, but, Home Depot carries similar items, and your local hardware store should have something comparable as well. But, Lowes offers:
- 4″ Hand Clamp – $7.98 (what I picked)
- 2″ Hand Clamp – $6.48
- 4-Piece Ratcheting Spring Clamp Set – $14.98
- 3/4″- to 1″-long 1/4″ threaded screw
- Nut to fit 1/4″ threads
I chose the 4″ clamp simply because I wanted the flexibility of being able to clamp it onto larger objects, but a smaller clamp would work fine as long as it can fit over whatever objects you anticipate locking it onto.
Tools
- A drill, Dremel, or a knife made from the bones of last year’s Thanksgiving turkey (or similar cutting device)
- A screwdriver to fit your 1/4″ screw
- Pliers (optional)
The Process
The process of converting an ordinary clamp into a force for change is rather simple.
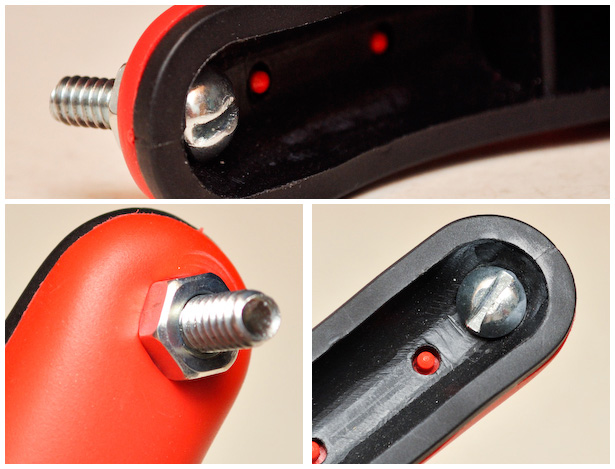
1. Drill, cut, or burrow a hole into the end of the handle opposite of the finger release. Be sure to make the just hole large enough for your screw to fit through.
2. Insert your screw into the hole (yeah, my mind went there, too) being sure to keep the head on the inside of the handle.
3. Tighten the nut onto the screw from the outside.
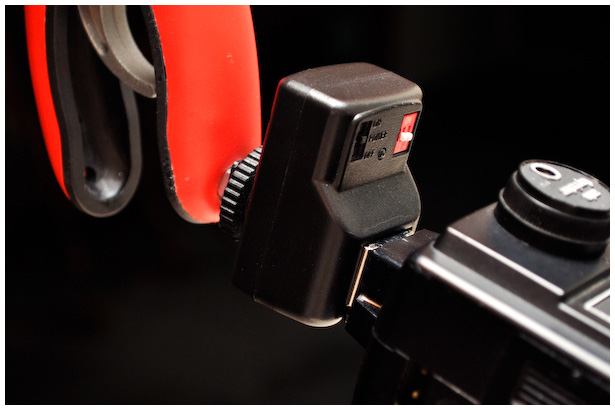
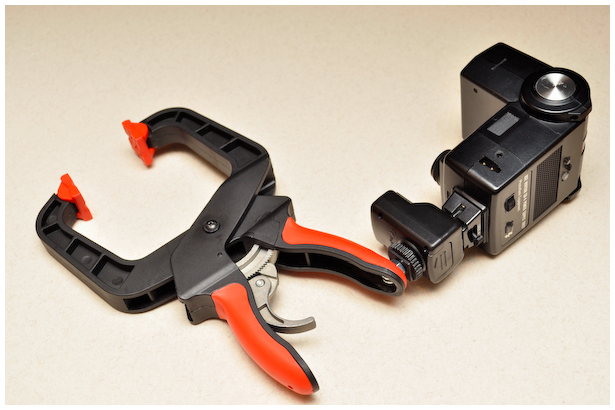
4. Attach a 1/4″-screw enabled device of your choosing, and you’re good to go!
TIP: While I haven’t tried this yet myself, I believe that adding thin, soft rubber pads of some sort to the “grippers” of the clamp will enable it to achieve a better grip and keep it from slipping as easily when heavier equipment is attached.
The Finished Product
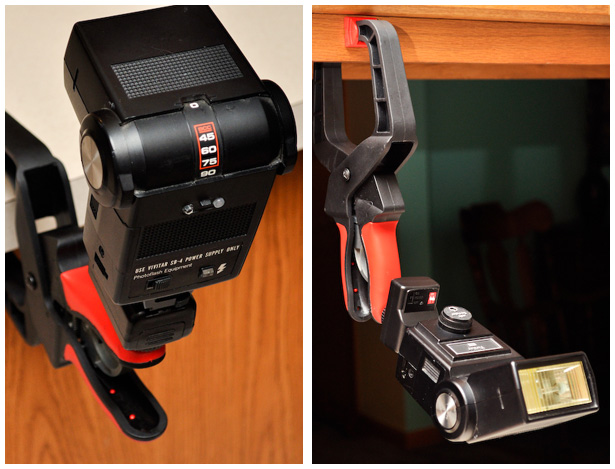
DIY Super Clamp in Action


LEFT: I clamped a flash unit to the 4-inch cement ledge of an amphitheater’s step and aimed it at the back (and side) of the couple to create a rim light and introduce another lighting dimension to the photograph.
RIGHT: I clamped a flash unit onto a music stand which I had laying on the floor and aimed it at the wall behind the subject to create some separation from the background.
How about you?
Have a DIY hack or how-to you’d like to share? Leave a comment or send it in an email, and it might just get featured in a future post!


